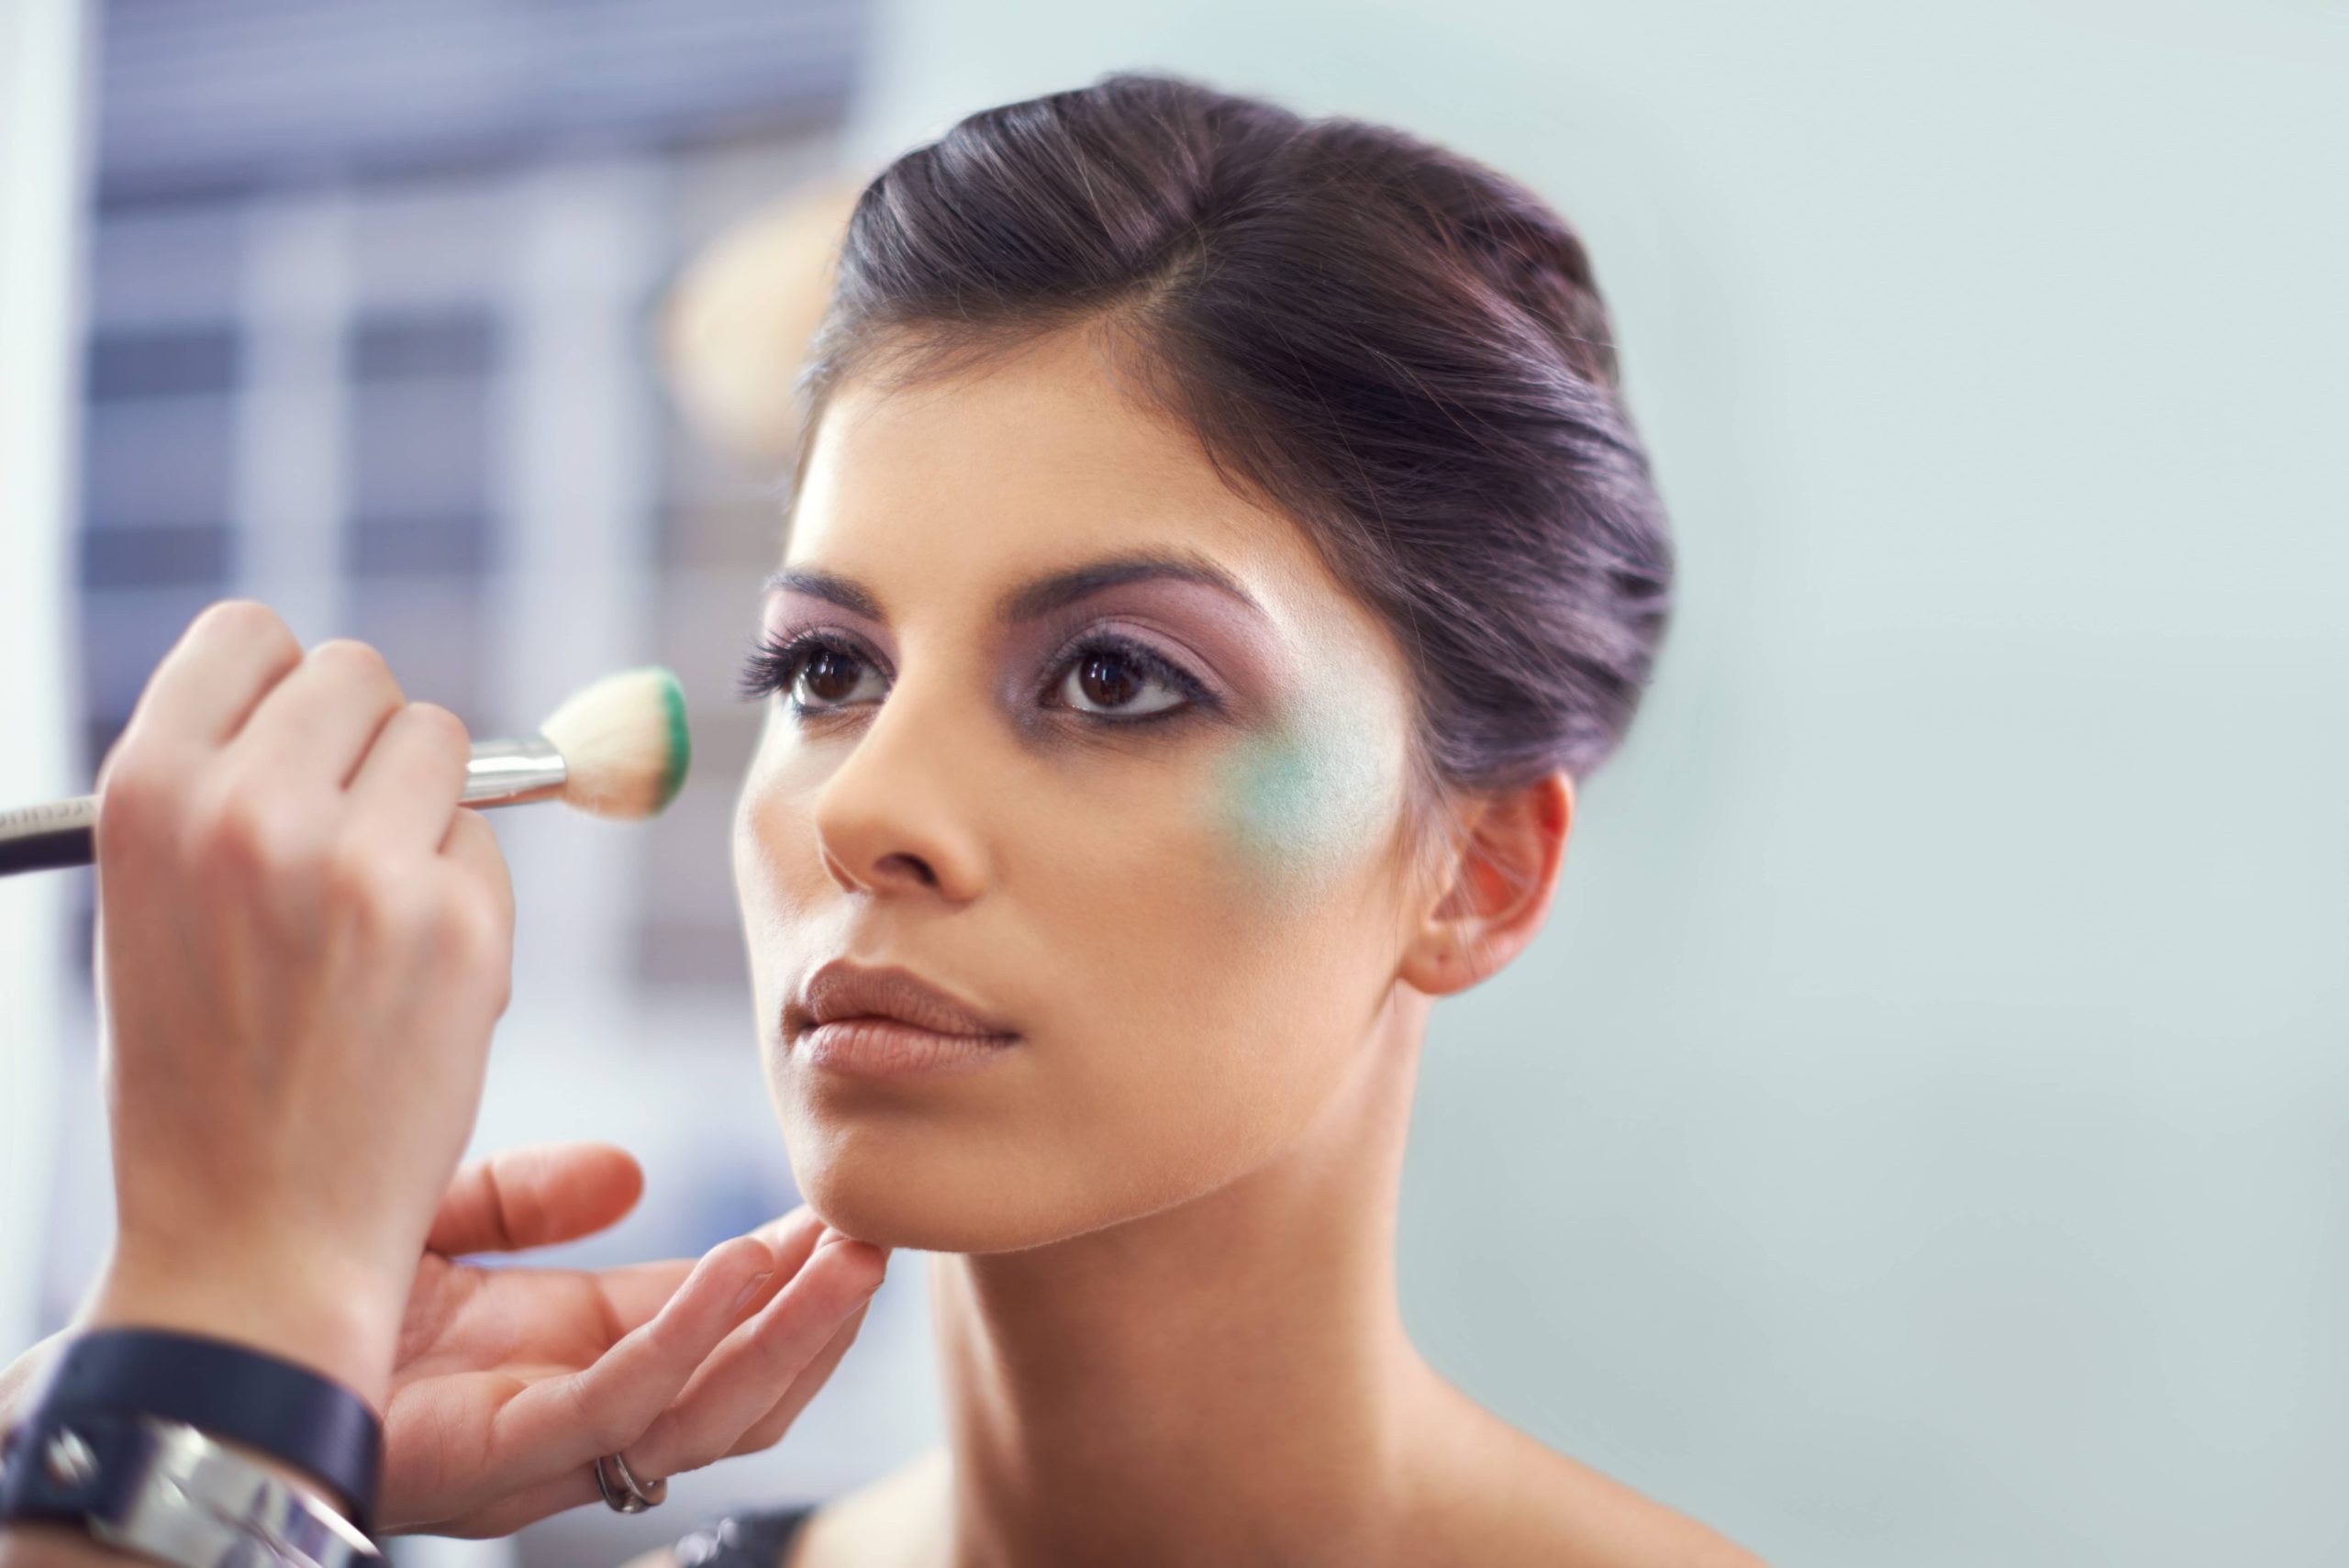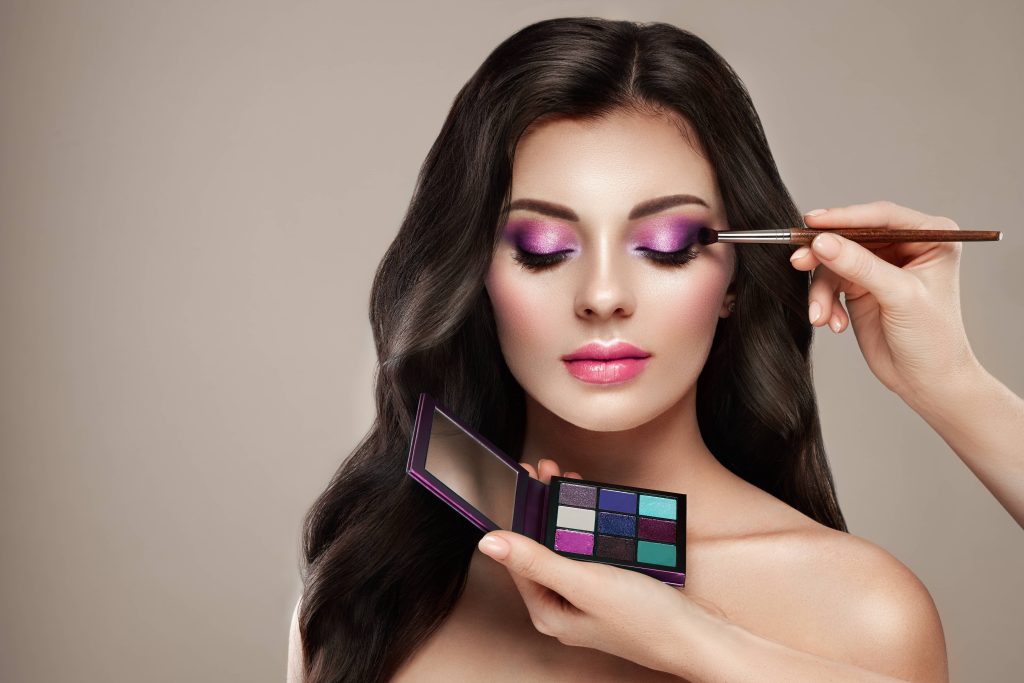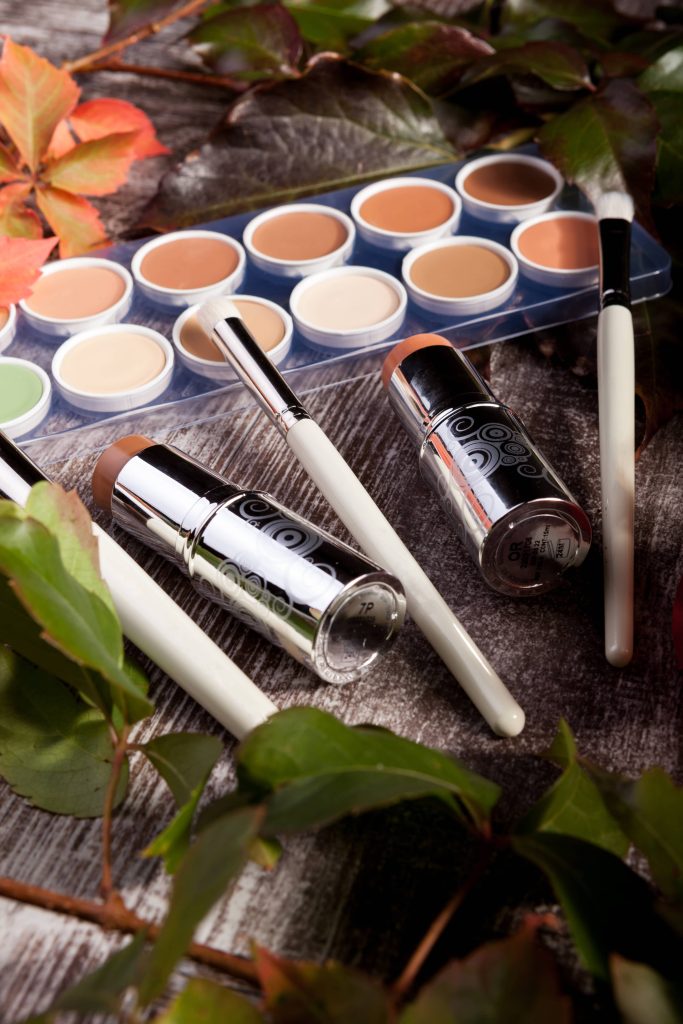
The smokey eye look is a timeless makeup style that has captivated the beauty world for decades. Its allure lies in its versatility—whether you’re dressing up for a glamorous night out or simply wanting to add a subtle touch of drama for a day look, the smokey eye can do it all. Mastering the smokey eye doesn’t have to be intimidating. With the right tools, techniques, and a little practice, you’ll be crafting this striking look effortlessly. Let’s delve into the five simple steps to create the perfect smokey eye.
Step 1: Prime and Prep
Before you start working the magic, it’s important to ensure your eyelids are perfectly prepped. This not only helps in enhancing the pigments of the eyeshadow but also in ensuring that your smokey eye stays put all day or night.
Begin by cleansing your eyelids to remove any excess oils. Apply an eye primer across your eyelid and under the eye area; this will provide a smooth canvas for your makeup and prevent creasing. If you don’t have a dedicated eye primer, don’t worry—a dab of your regular foundation or concealer can work as a substitute.
For added staying power, lightly dust a setting powder over the primer. This will lock everything in and provide a seamless base to build upon.
Step 2: The Base Shade
The key to a flawless smokey eye is layering. Start with a neutral base shade that complements your skin tone and apply it across the entire lid. This could be a soft beige, taupe, or a light grey. This step creates a smooth transition for the darker shades and ensures a gradient effect that defines a classic smokey eye.
Using a flat shader brush, gently press the eyeshadow onto the lid. Avoid swiping motions as these might disturb the primer underneath. Blend the edges using a fluffy blending brush to ensure there are no harsh lines—it should look almost as if this shade seamlessly disappears into your natural complexion.
Step 3: Add Depth with the Crease Shade
Next, it’s essential to add depth to your eyes by focusing on the crease—the area just above your eyelid and below your brow bone. This step is where the smokey effect starts to take shape.
Opt for a medium-toned matte shade, such as a deep brown or charcoal, to define the crease. Use a crease brush to apply the eyeshadow in a windshield wiper motion. Blend thoroughly, as this will help in achieving that soft, gradient look characteristic of a beautiful smokey eye. Concentrate most of the product on the outer corner to add dimension and lift to the eyes, and carry any remaining pigment on the brush towards the inner corner for a seamless transition.
Step 4: Intensify with the Lid Color
Here’s where the smokey eye becomes bolder and more intensified. Choose a dark, rich shadow that matches the vibe you want to go for—a classic black, a seductive navy, or even a deep plum.
Apply this shade directly onto your eyelid, starting from the lash line and working your way up towards the crease. Using a flat brush or a small dome brush will give you greater control and precision. Concentrate the color at the lash line, tapering off as you move upwards for a gradient effect.
After applying the lid color, it’s crucial to blend once again. Use a clean blending brush and gently buff the edges where the lid color meets the crease shade. This will eliminate harsh lines and ensure your smokey eye looks professionally executed.
Step 5: The Finishing Touches
The final step involves adding those all-important finishing touches that define and complete the smokey eye look. Begin by lining your eyes. A retractable or gel eyeliner is perfect for this. Line your upper and lower lash lines, slightly smudging with a smudger brush or cotton swab to soften the line and enhance the smokiness.
For a more dramatic look, consider tightlining your eyes. This involves applying eyeliner to the upper waterline, creating a fuller lash appearance. Pair this with a light application on the lower waterline to encase the eye in a halo of sultriness.
No smokey eye is complete without mascara. Opt for a volumizing formula and apply several generous coats to your top and bottom lashes to open up the eyes and add balance to the intensity above.
For an extra touch of glamour, consider adding false eyelashes or a subtle shimmery highlighter in the inner corners of your eyes. This will brighten the look and make your eyes pop.
Bonus Tips for Perfecting the Smokey Eye:
– Brushes Matter: Investing in the right tools is half the battle won. Ensure you have a variety of brushes, including a flat shader, blending, and crease brush. These will make the blending process far easier and precise.
– Blend, Blend, Blend: The magic of a smokey eye lies in perfect blending. Spend extra time blending different shades to achieve that gradient effect, and remember: always blend in small circular motions for the best results.
– Choose Colors Wisely: For daytime, consider earthy tones and soft greys. Save the bold blacks and vibrant dark colors for evening affairs.
– Adapt for Your Eye Shape: Remember that everyone’s eye shape is unique. Play around with different techniques until you find the one that highlights your natural shape beautifully.
Mastering the smokey eye can truly transform your makeup game, offering a versatile look that is both classic and captivating. With these five simple steps, clarity, and a sprinkle of confidence, you’re ready to rock the smokey eye in any setting. Happy blending, beauty lovers!


