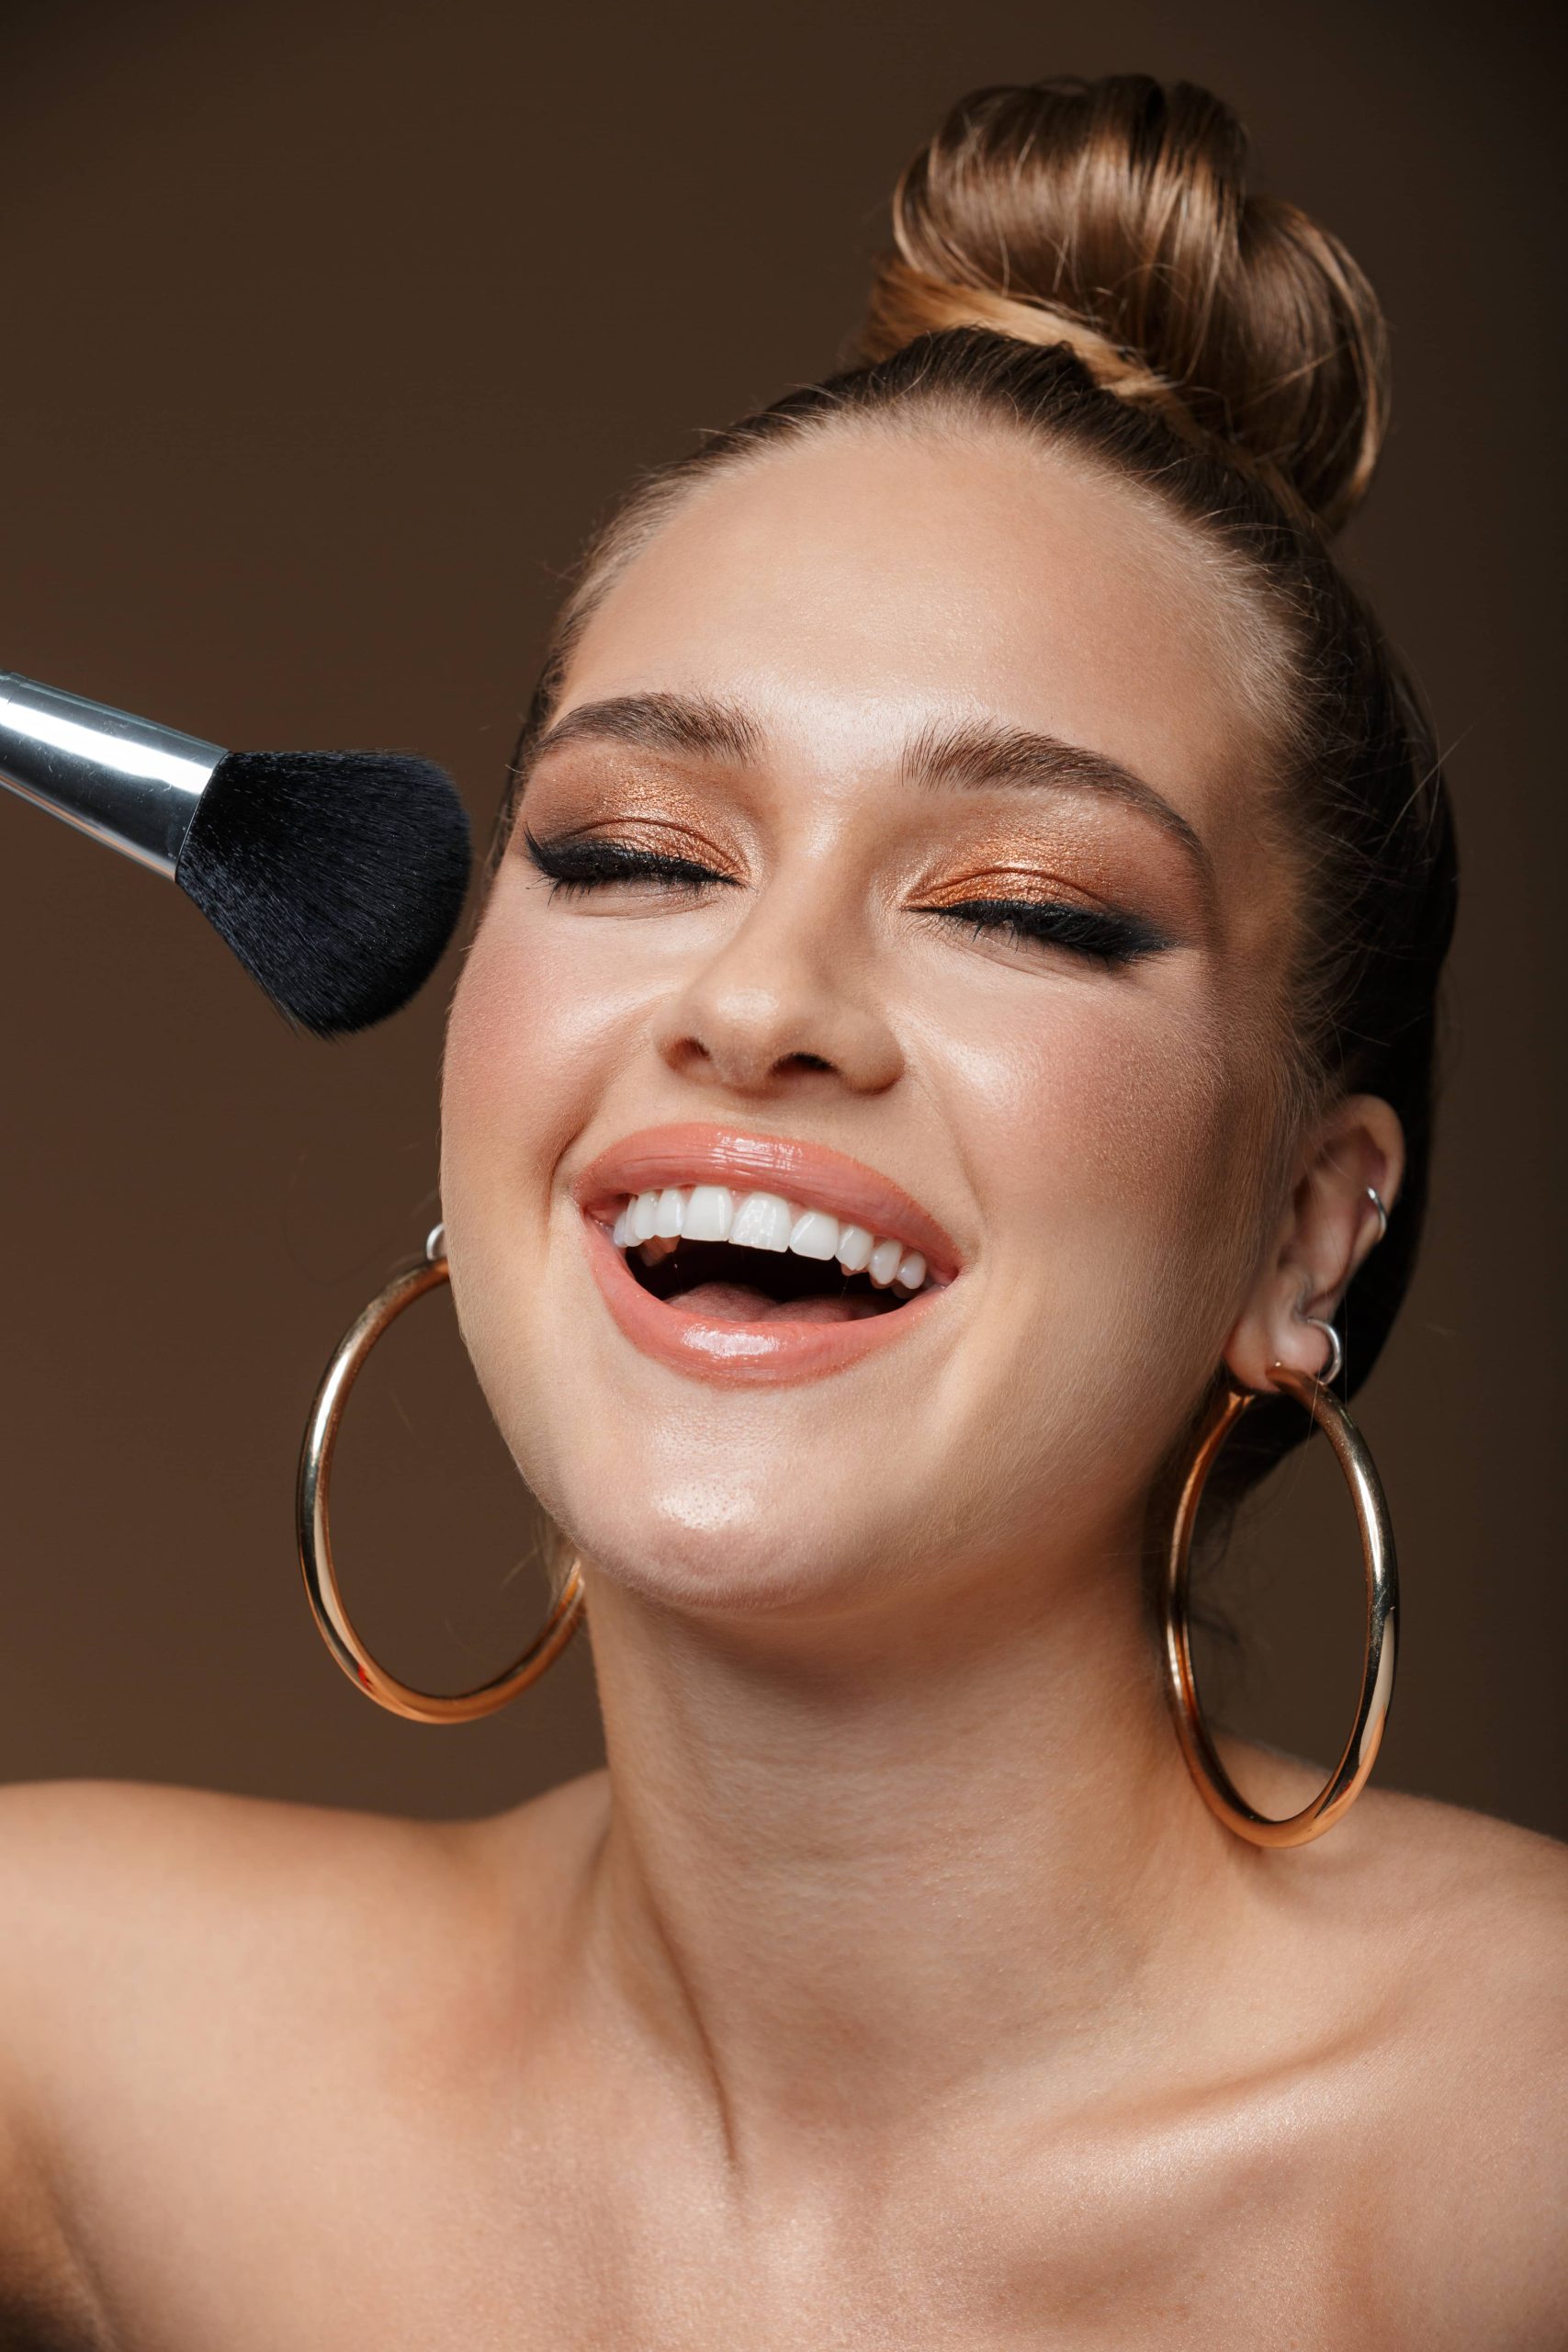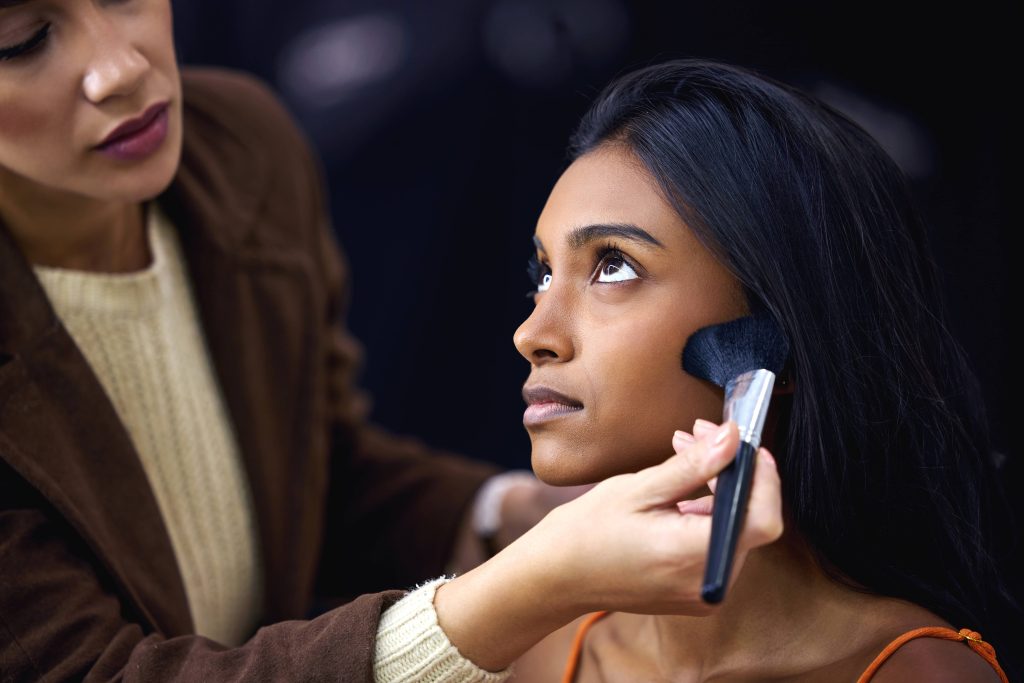
Contouring—a makeup technique beloved by professional artists and beauty enthusiasts alike—has the power to redefine and accentuate facial features, creating dimension and depth like a sculptor crafting a masterpiece. Whether you’re preparing for a glamorous photoshoot, a night out, or simply want to experiment with your everyday look, mastering the art of contouring can transform your makeup game.
Understanding the Basics: Why Contour?
Before diving into the techniques, it’s essential to understand why contouring is a staple in the makeup world. At its core, contouring involves using makeup to enhance or alter the natural shape of your face. It plays with light and shadow, employing darker shades to create shadow, and lighter ones to highlight, ultimately giving your face a more angular and defined appearance.
The trick to perfect contouring lies in the seamless blending of light and dark shades, creating a subtle play of natural shadows that mimic a more chiseled facial structure.
Tools of the Trade
Achieving a flawlessly contoured face begins with selecting the right tools and products. Here’s what you need in your contouring arsenal:
1. Contouring Products: Contouring can be done with creams, powders, or sticks. Creams are great for a dewy finish and are easier to blend on moisturized skin, whereas powders give a more matte effect and are ideal for oily skin or humid climates. Choose a product that’s two shades darker than your skin tone for contouring and one to two shades lighter for highlighting.
2. Brushes and Sponges: An angled brush is perfect for precise contouring along the cheekbones, while a fluffy brush works well for blending out harsh lines. A beauty sponge can soften any edges, ensuring that your contour looks natural and seamless.
3. Highlighter: A subtle shimmer or matte highlighter enhances the high points of your face, making your contouring pop.
4. Setting Powder: Lock your contour in place with a translucent setting powder to ensure it lasts all day.
Step-By-Step Guide to Professional Contouring
Step 1: Prep Your Canvas
For any makeup look, clean and moisturized skin is a must. Start by cleansing your face and applying a hydrating moisturizer. Follow up with a primer to blur pores and ensure a smooth application of makeup.
Step 2: Foundation First
Even out your skin tone with a foundation that matches your complexion. This step creates a uniform base, allowing your contour to stand out. Be sure to blend thoroughly into your hairline, jawline, and neck for a natural finish.
Step 3: Mapping Out Your Contour
To begin contouring, consider your face shape (oval, round, square, etc.) to determine where to apply your contour and highlight. The general rule is to contour areas you want to recede.
– Cheekbones: Make a fish face and apply contour beneath your cheekbones, starting from your ear and moving towards the mouth.
– Forehead: Apply contour along your hairline to give the illusion of a smaller forehead.
– Nose: For a slimmer nose, contour along the sides and highlight down the bridge.
– Jawline: Apply contour along the edge of your jawline and blend down to your neck to eliminate any double-chin effect.
– Highlighting Points: Highlight the center of the forehead, under the eyes, under the cheek contour, the chin, and the Cupid’s bow.
Step 4: Blend, Blend, Blend
Blending is crucial to achieve a natural look. Use a damp beauty sponge or a brush to blend your contour into your foundation. Be gentle and use sweeping motions to avoid moving the product too much. Ensure that there are no harsh lines and that everything looks seamless.
Step 5: Set Your Masterpiece
Once blended to perfection, lock in your work with a light dusting of setting powder. Focus on areas prone to oiliness, such as the T-zone. If you’re using a cream contour, this step is particularly important to prevent creasing.
Step 6: Add Dimension with Highlighter
To finish, sweep a soft highlighter across the top of your cheekbones, the bridge of your nose, the inner corners of your eyes, and the Cupid’s bow. This step elevates your contour, adding dimension and a healthy glow.
Tips for Flawless Contouring
– Less is More: Start with a small amount of product and build up as needed. It’s easier to add more than to take away.
– Know Your Face Shape: Tailor your contouring technique to suit your unique face shape for the most flattering results.
– Lighting is Key: Always do your makeup in natural light when possible to ensure your contour looks balanced.
– Practice Makes Perfect: Like any skill, contouring takes practice. Experiment with different products and techniques to find what works best for you.
Conclusion
Mastering professional contouring techniques takes time, patience, and practice, but the results are well worth the effort. Not only does contouring have the power to elevate and transform your makeup look, but it also allows you to play with the natural structure of your face in creative and exciting ways.
Remember, makeup is an art, and like any artist, your skills will improve the more you practice. Embrace the process, enjoy experimenting with different looks, and most importantly, have fun discovering the transformative power of contouring. Who knows? With a little practice, you might just become the contouring pro you’ve always admired!


